...At this point, restoring.

This is the freewheel from the birthday bike, the Schwinn Le Tour. It had sand inside from windy days in Cane Beds I think, so I had to rebuild it. See the millions of tiny ball bearings in the lower right?
Elizabeth gave me this cool oven dish with raised sides that is perfect for rebuilding things with lots of tiny bearings like freewheels and pedals. They can't escape!! 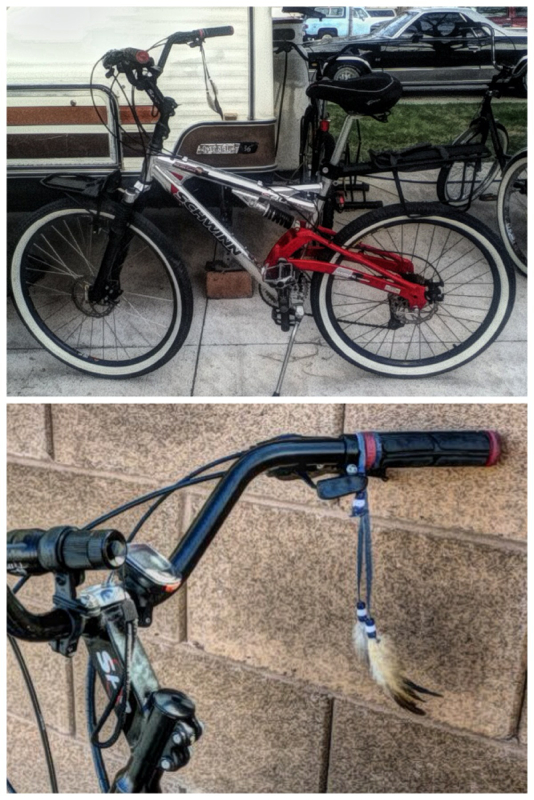
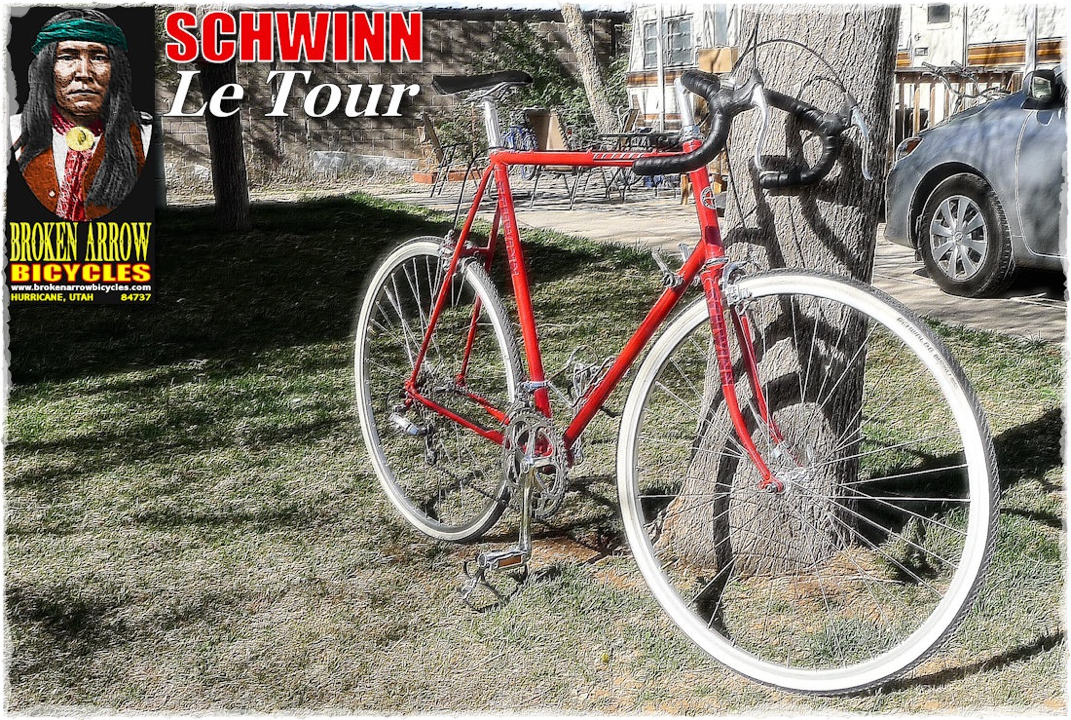
Frankenbike has been officially confiscated and has become the new official Broken Arrow work bike. Rechristened 'Cochise', she also now proudly sports a new feather accessory!
The Scwinn Le Tour is on the table - the kitchen table - awaiting final adjustments... 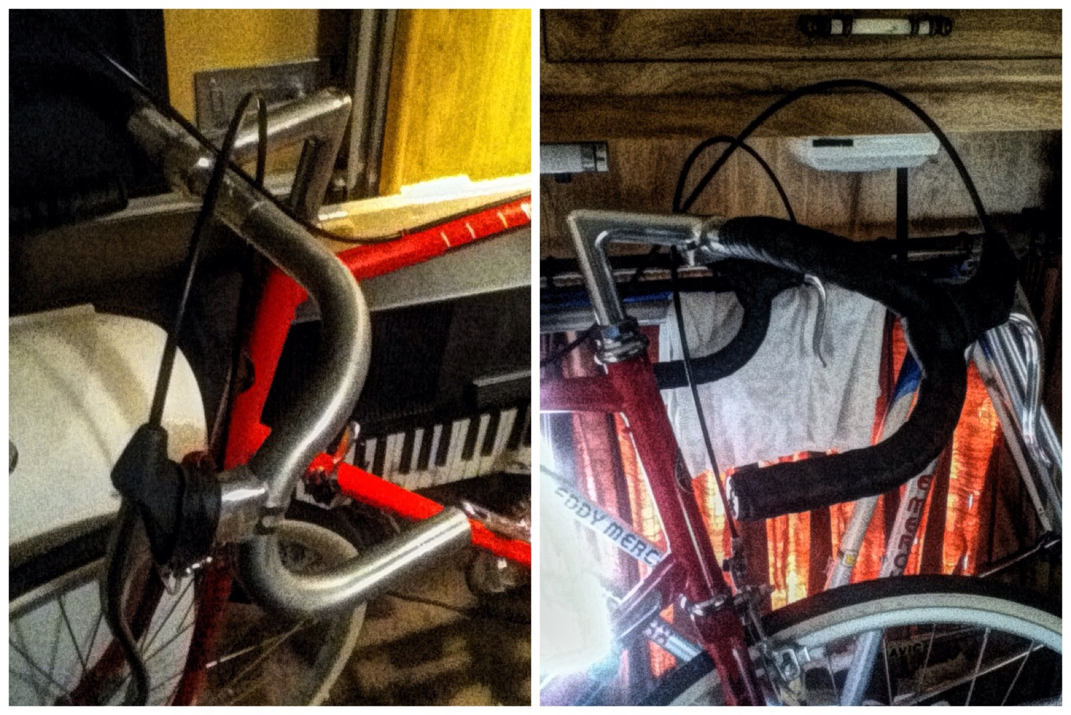
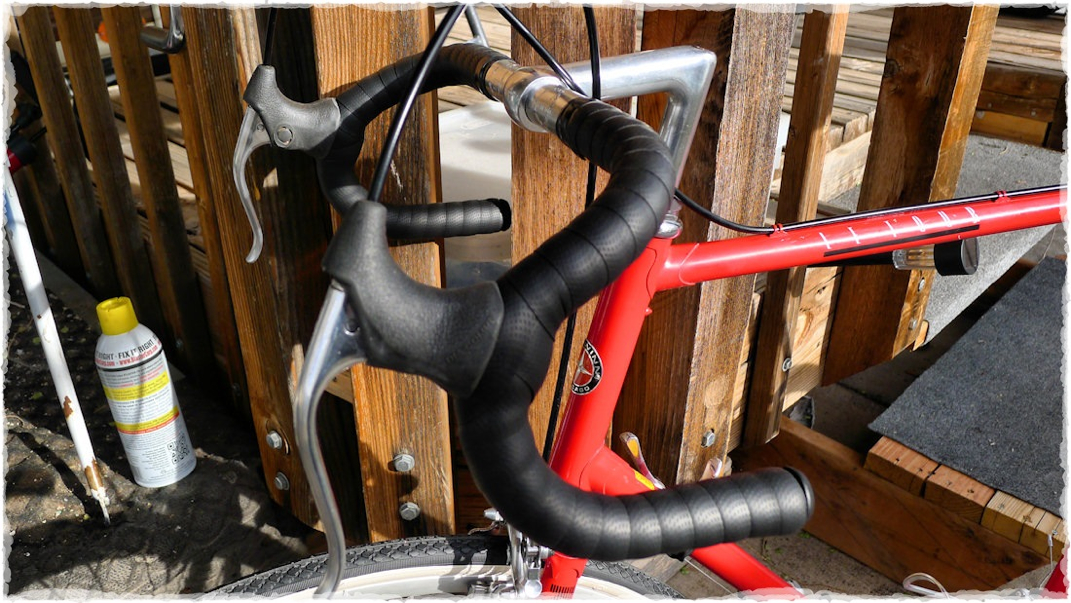
This is the fourth time I've put handlebar tape on a road bike. You would think it would get easier each time, but it doesn't for me - yet. I get tensed up and worried that I'm going to mess things up. Fortunately, I use a handlebar tape that is quite easy to reposition if you mis-position it.
It's a gel tape and very thick. It's not an adhesive on the back, just a sticky surface that will hold its position a bit once you've positioned it. Then it is easy to lift off and reposition if need be. The picture on the left is the bare handlebar with the brake lever hood rolled back, ready for taping. The picture on the right is the finished product, all went well. Thank you, Sheldon Brown. Still plodding on... :-) 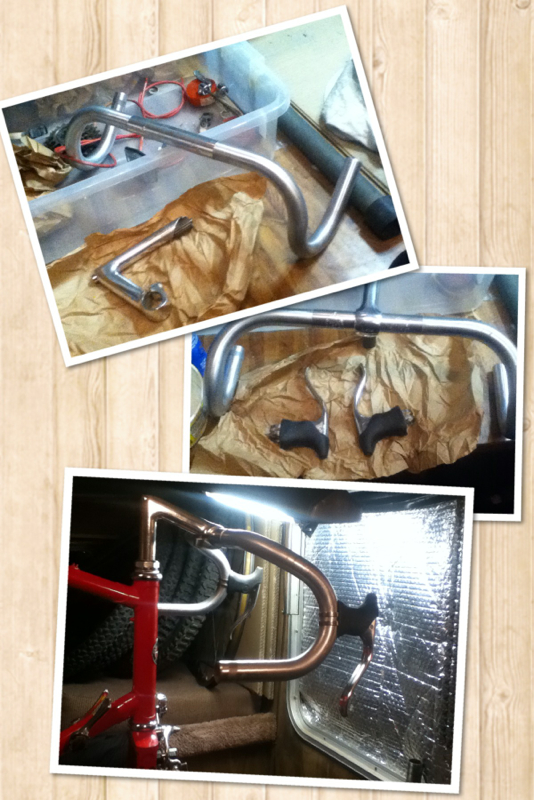
The Sakae handlebars for this period, at least some of those built for Schwinn, are kind of splayed out where they curl down, sort of like a big horn sheep horn.
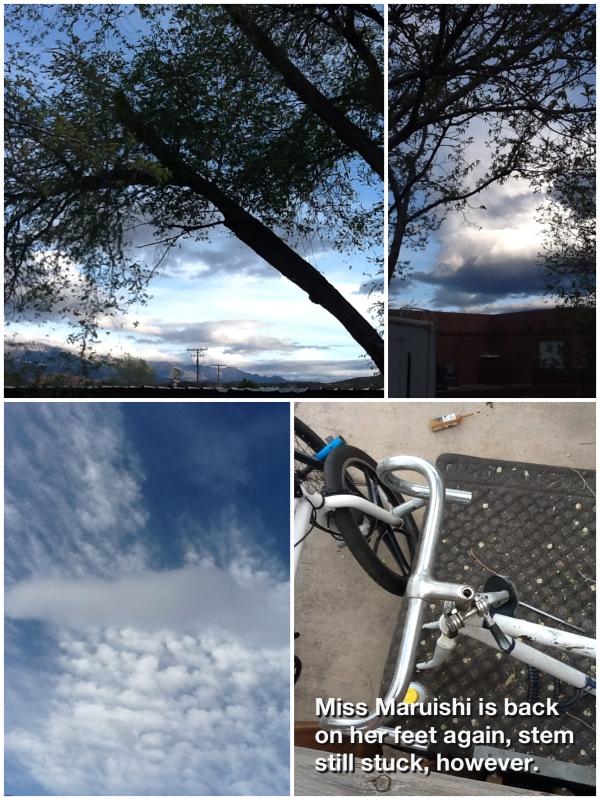
Anyway, next I attach the Sakae Custom stem to the handlebar. Then I work the Dia-Compe non-aero brake levers on to the handlebar and position them, tightening the clamp on each when I think it's where it should go (I'm always wrong about it, though, and end up repositioning them before putting on the handlebar tape). Finally, lots of grease down the steerer tube and around the base of the stem (keeping Miss Maruishi in mind {who is still on her back getting lube treatments, btw}) so the stem will never seize up - in my lifetime, at least - and I insert the stem and tighten it up temporarily. 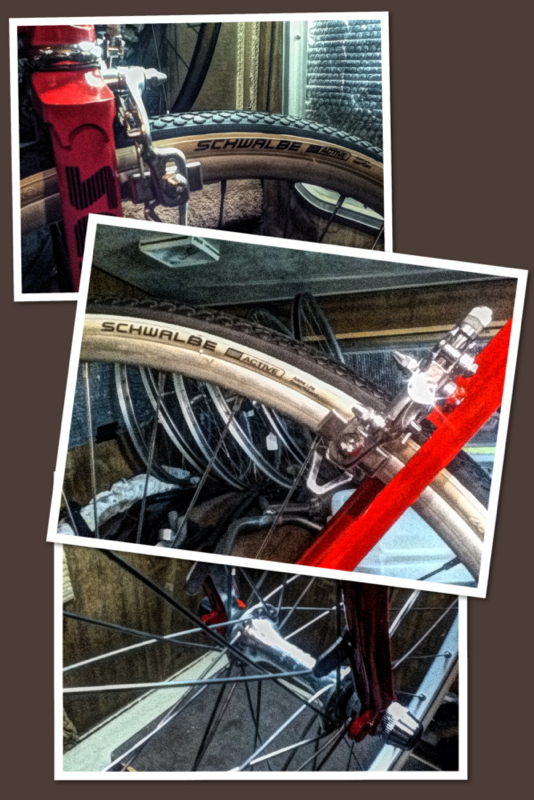
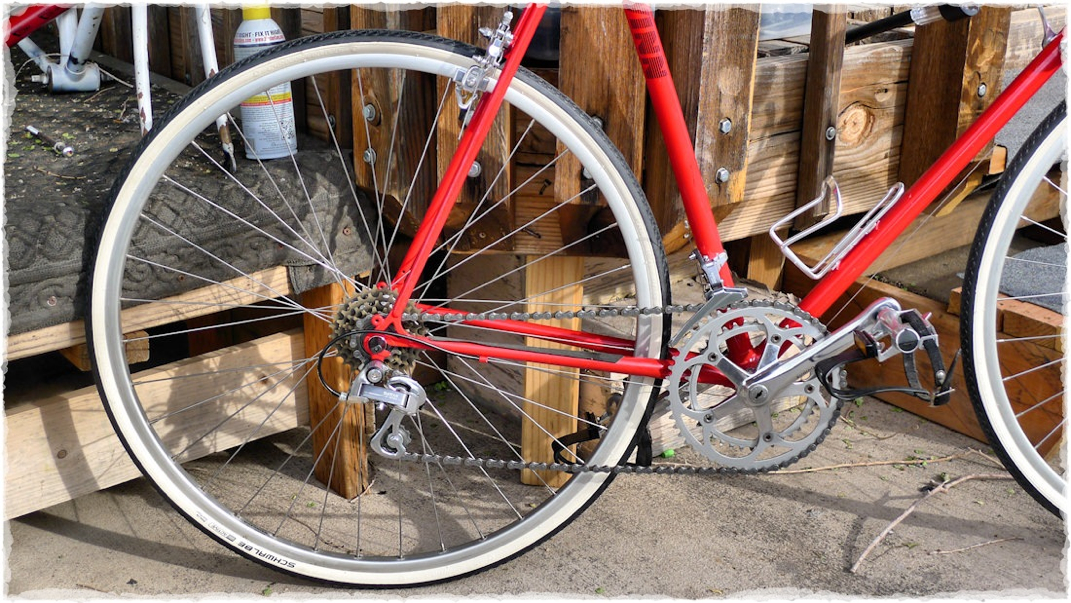
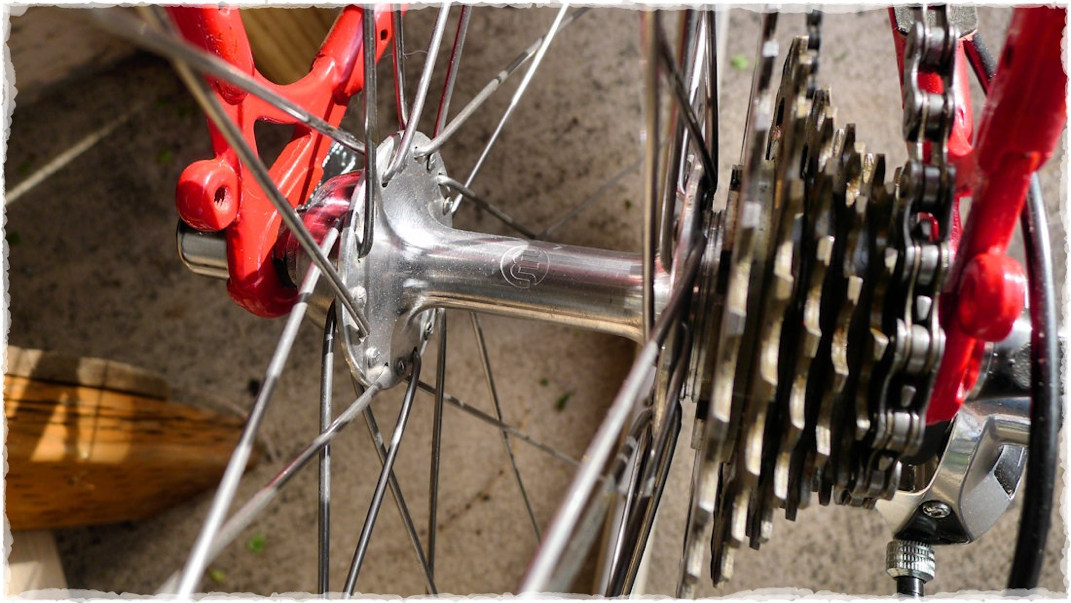
Now we're ready for the wheels. The Schwinn came with a very nice wheelset. The rims are Weinmann, made in Belgium, and the hubs are Maillard, made in France.
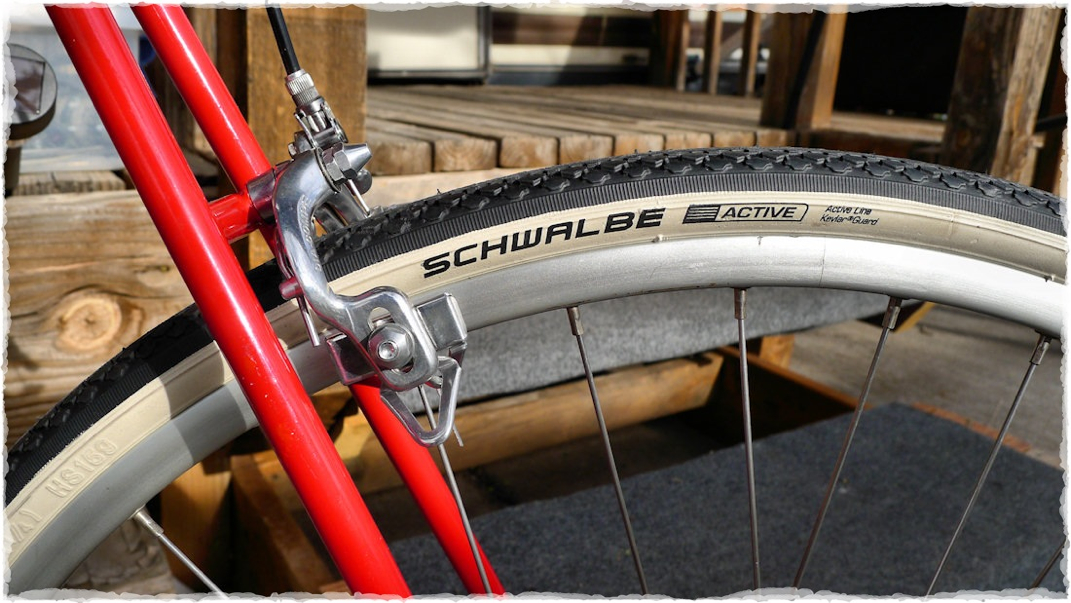
The spokes, being stainless steel, must've come from a kitchen somewhere... I've put Schwalbe Active 27 x 1 1/4 touring tires with white walls on the wheels, since they had white walls on them originally. Casey the parts cleaner did a fairly good job of repacking the bearings in the hubs, they spin pretty smoothly! 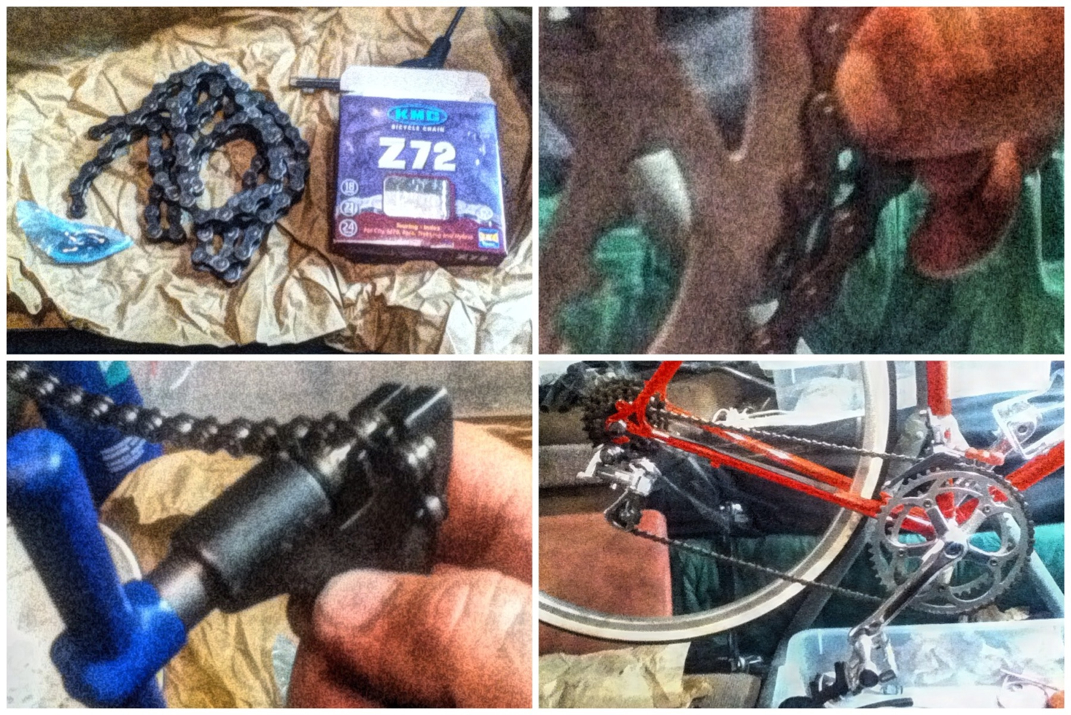
Finally, for tonight, the new KMC chain. To measure the length that a new chain should be, you wrap the chain around the largest rear sprocket and then around the largest front sprocket - without threading it through the derailleur - and then overlap the chain about 1 inch or two links. That's the ideal length. This is what I learned online, but I can't remember who to blame if it ever doesn't work.
You then thread the chain through the derailleurs and around the sprockets, and connect the two ends using two little half-links that make up what's called "The Missing Link". And now you have power to the wheel! 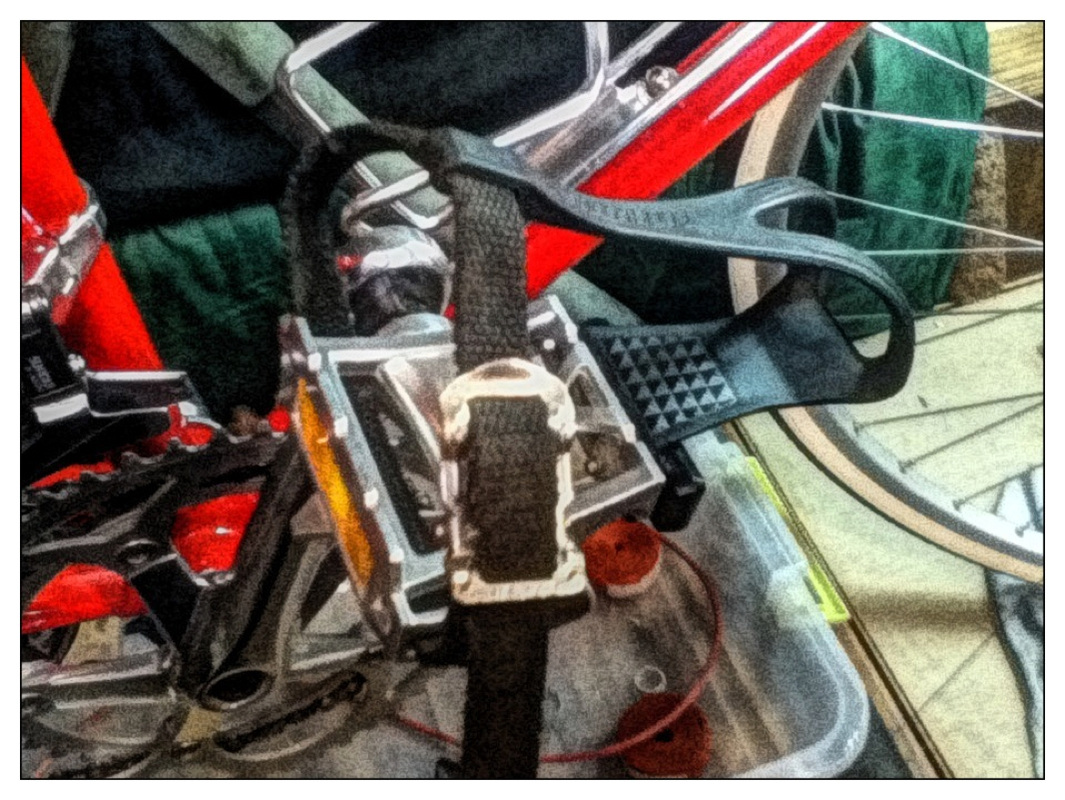
Time to finish the pedals by putting the straps back on...
Next, installing cables and housings! 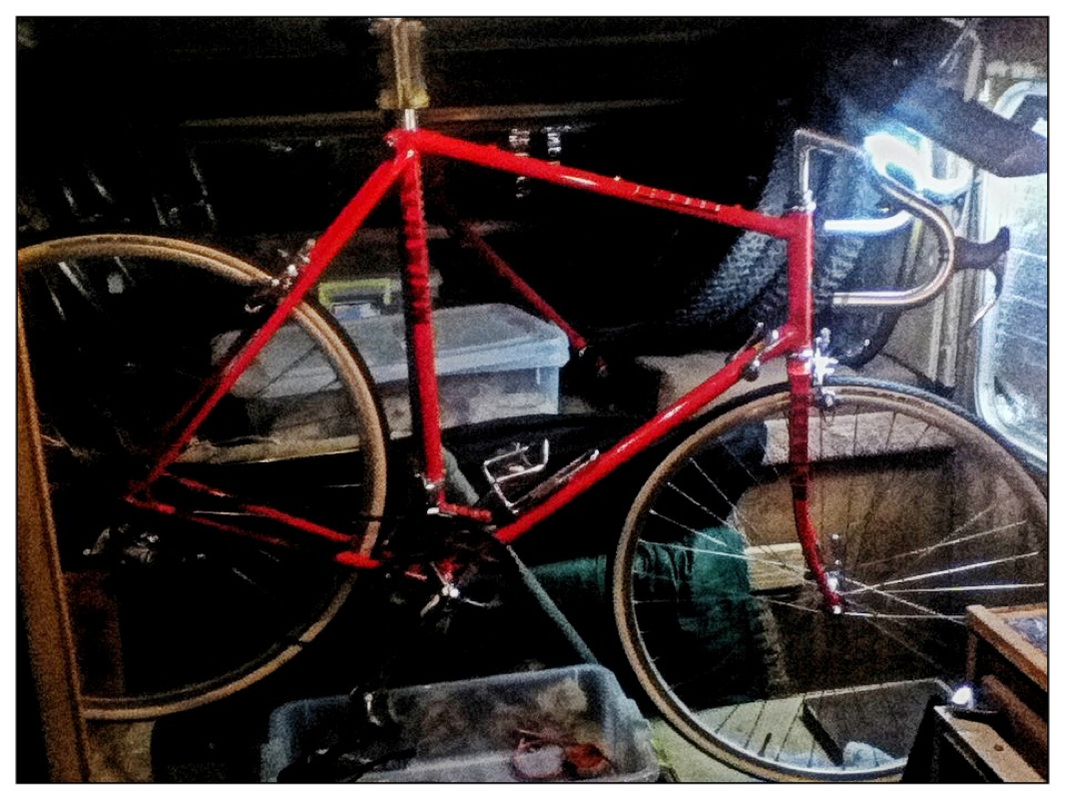
Today there was a knock on our door... "Are you the man that fixes bikes?"
And she left off an 'EZ-Ride' three-wheeler, already disassembled, for me to rebuild... 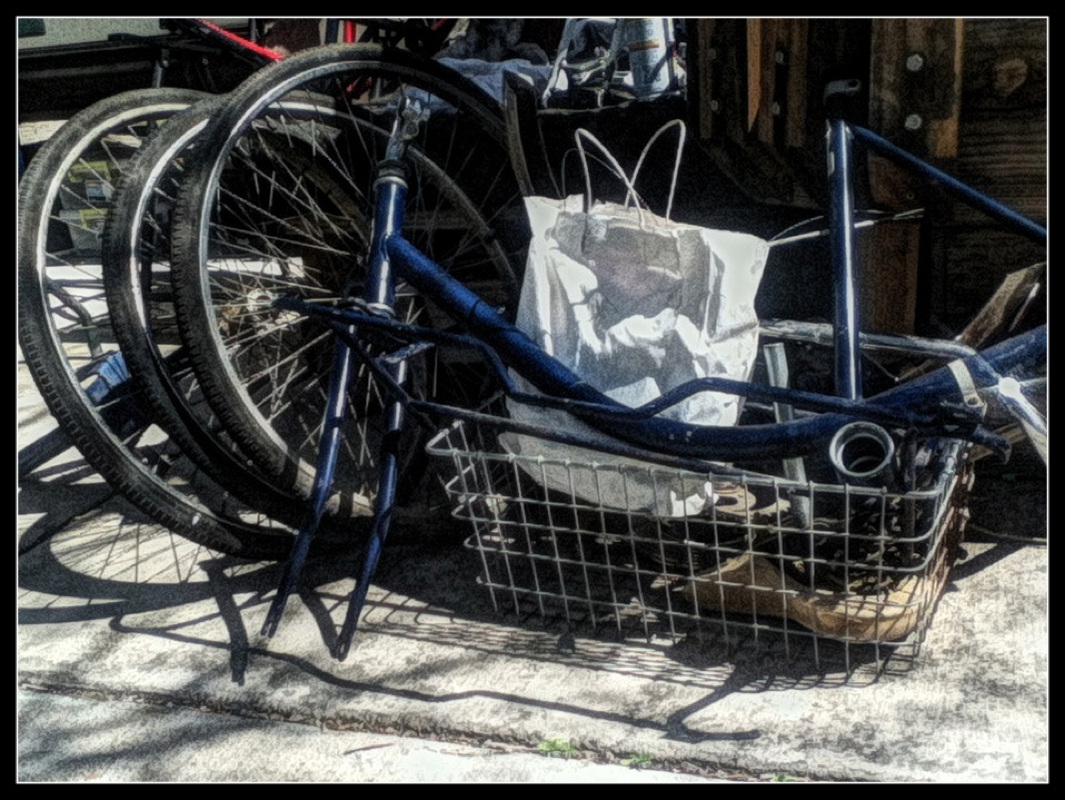
It's quite old, manufactured by Gobby Manufacturing Inc., and should be one if those real adventures to restore and learn from.
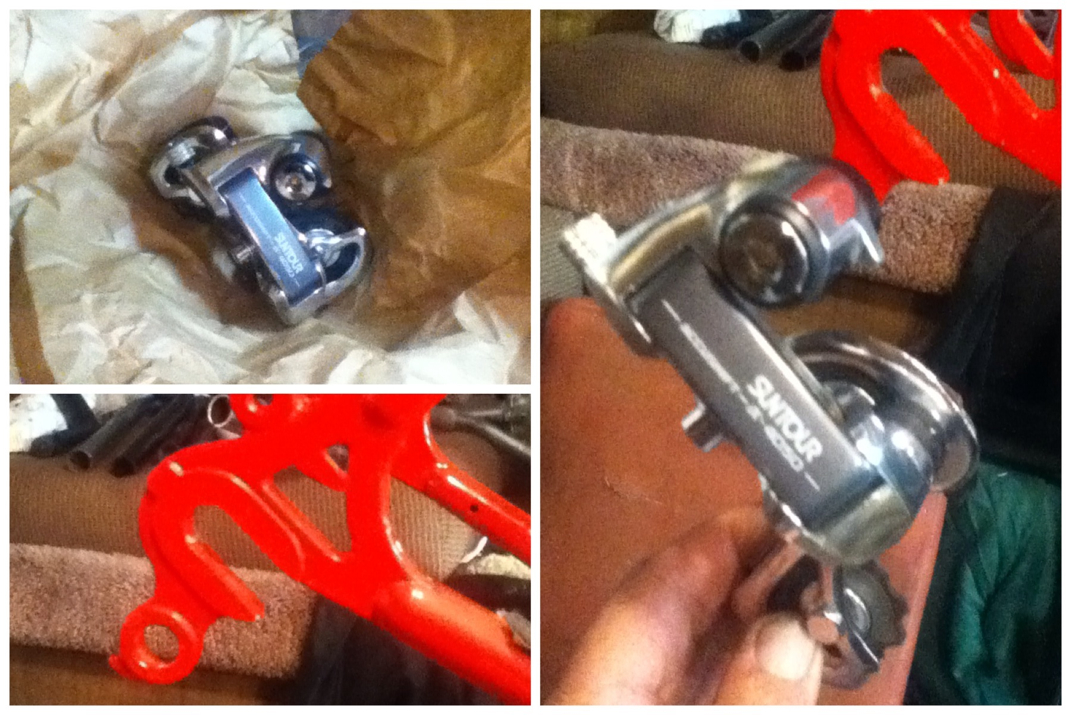
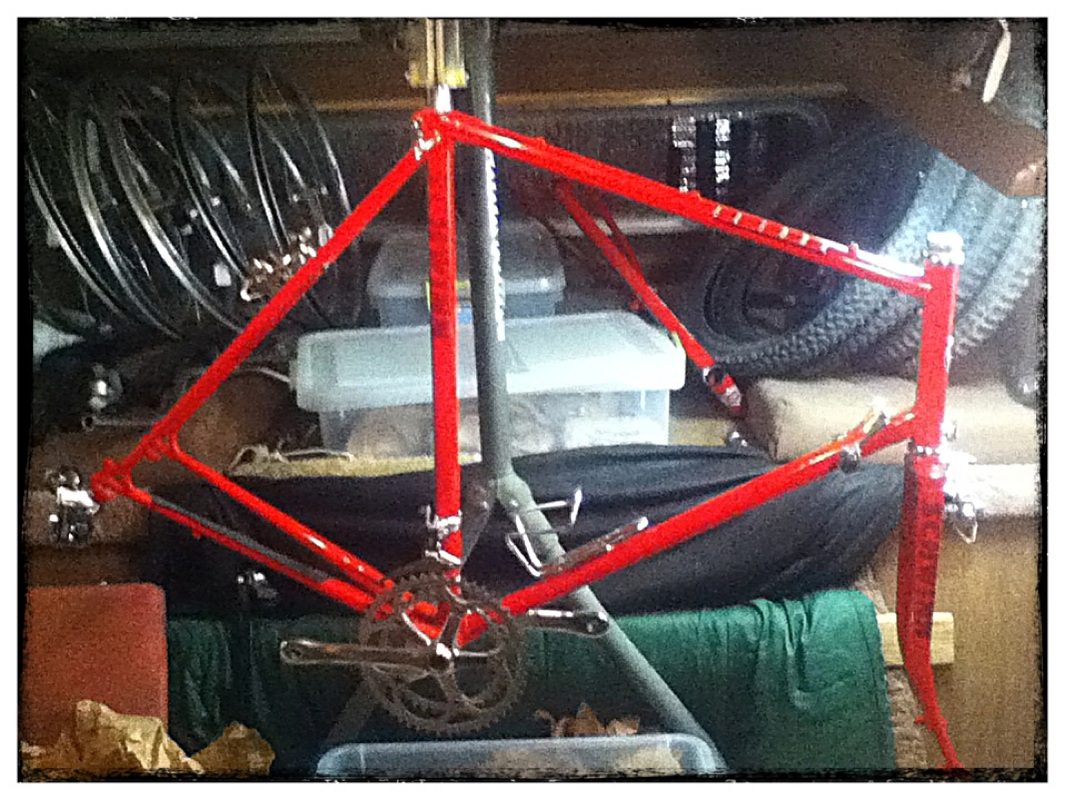
As shown above its basket is doing double duty.... After making sure the derailleur hanger is straight, I bolt on the Suntour 4050 rear derailleur...
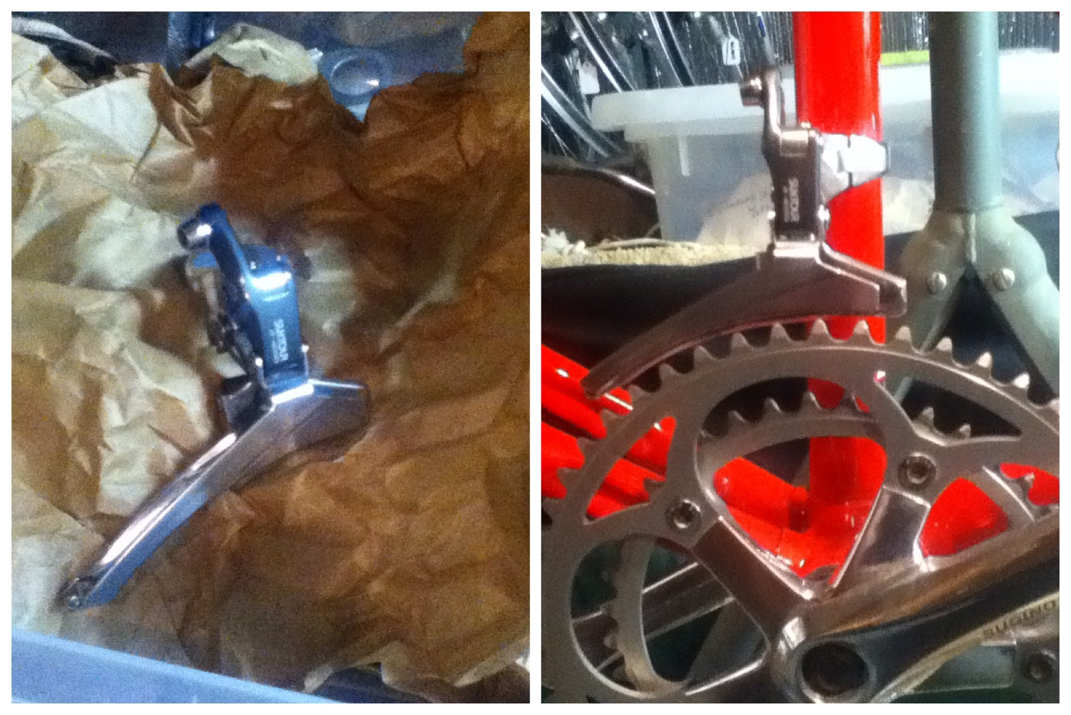
Next, the Suntour 4050 front derailleur gets clamped on. I love it when the paint is faded a bit so I can see where the front derailleur was mounted before. It saves me from measuring a two millimeter gap between the chainring teeth and the bottom edge of the derailleur cage. I still have to make sure it's rotated correctly, however, so that it's clamped parallel to the frame.
Then the Dia-Compe brake calipers, front (on the still detached fork) and rear...
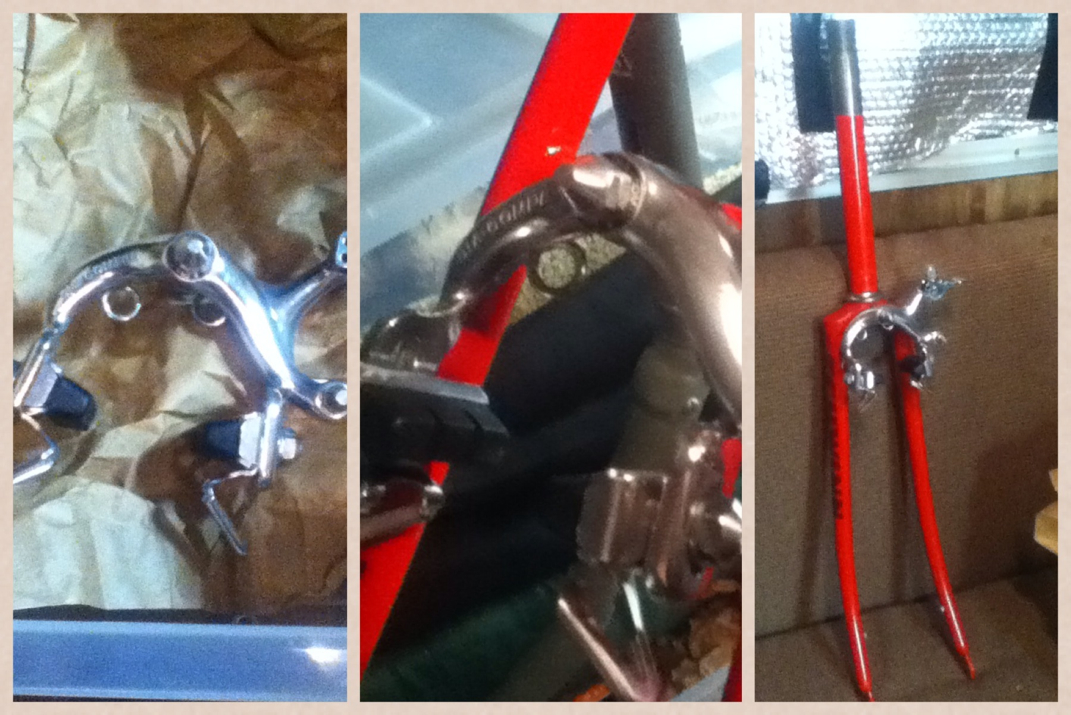
Now I install the headset and fork, smearing lots of marine grease on the shiny clean bearings first...
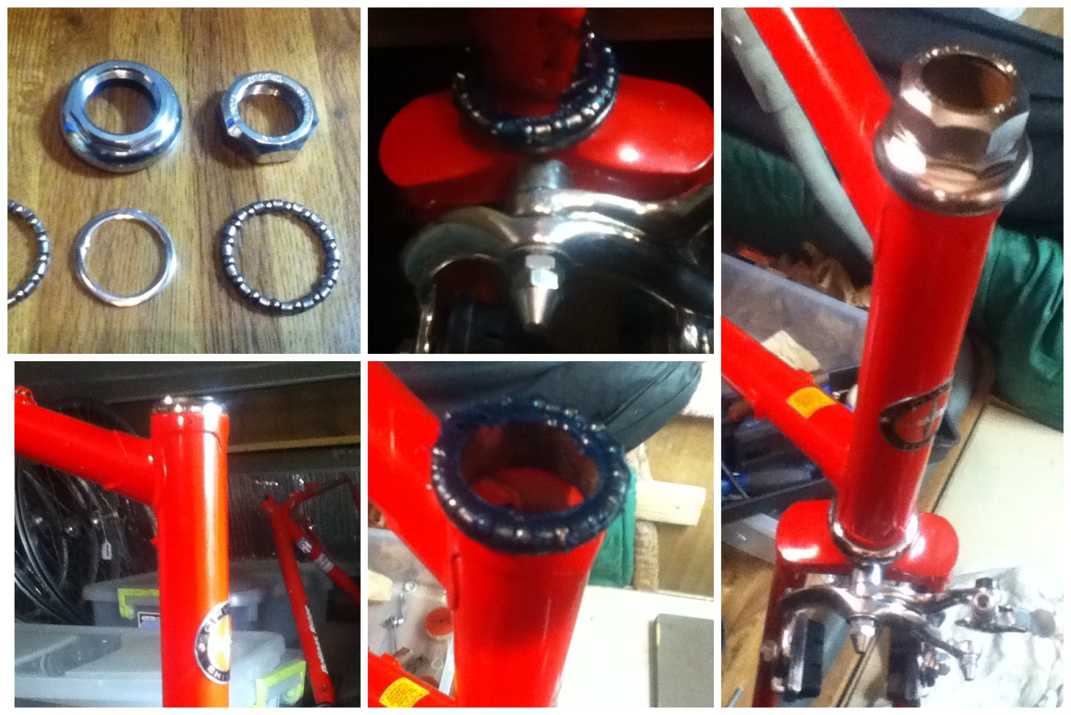
It's very nice Tange headset, you'd think it was new!
Finally, the Suntour 4050 Accushift shift levers just screw on as one piece each, unlike earlier shifters that had a million parts you had to get in just the right order... 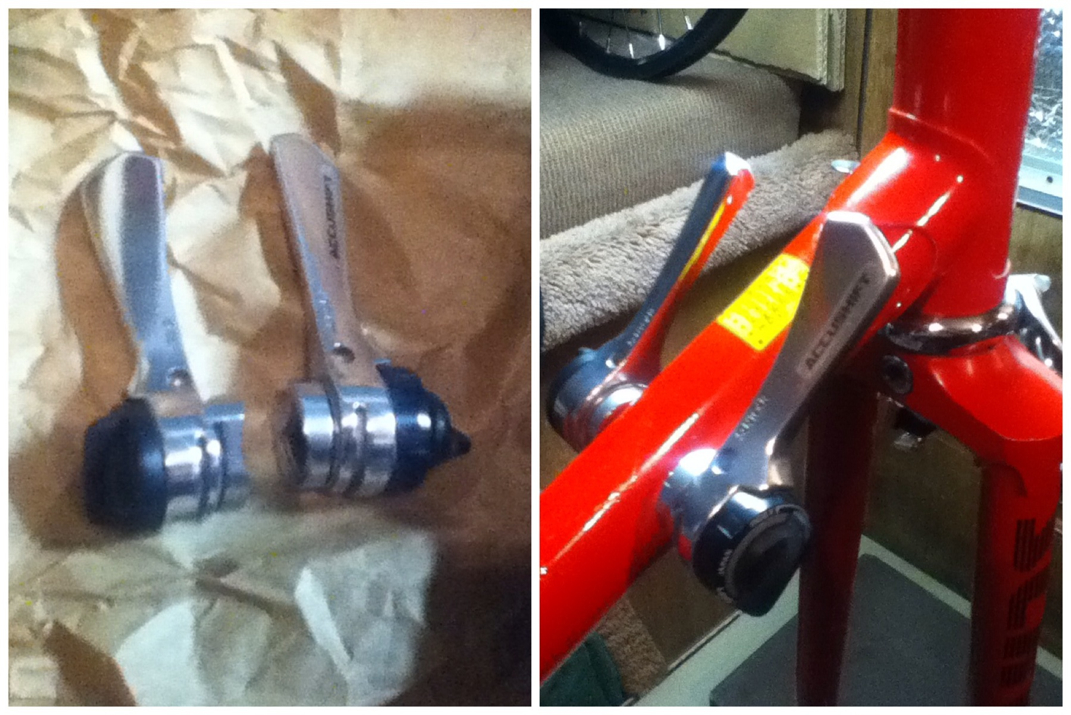
That's where I stopped last night... So tonight I get to do wheels and chain, stem and handlebars and brake levers!
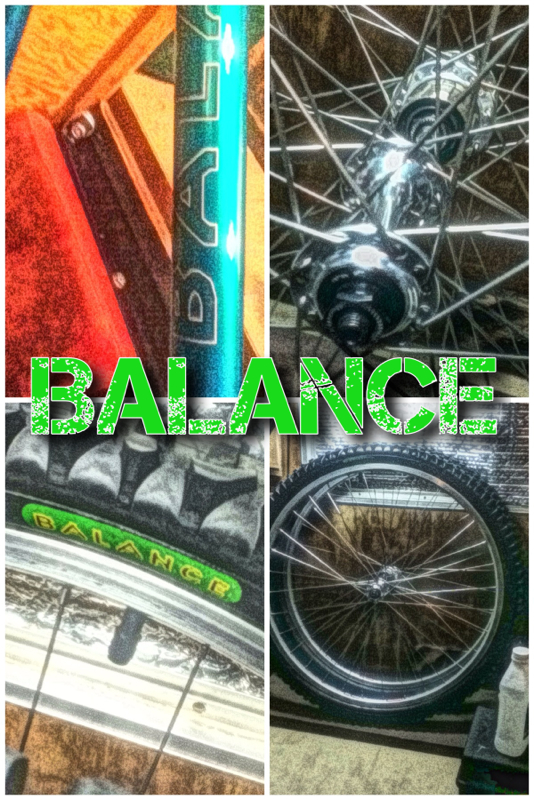
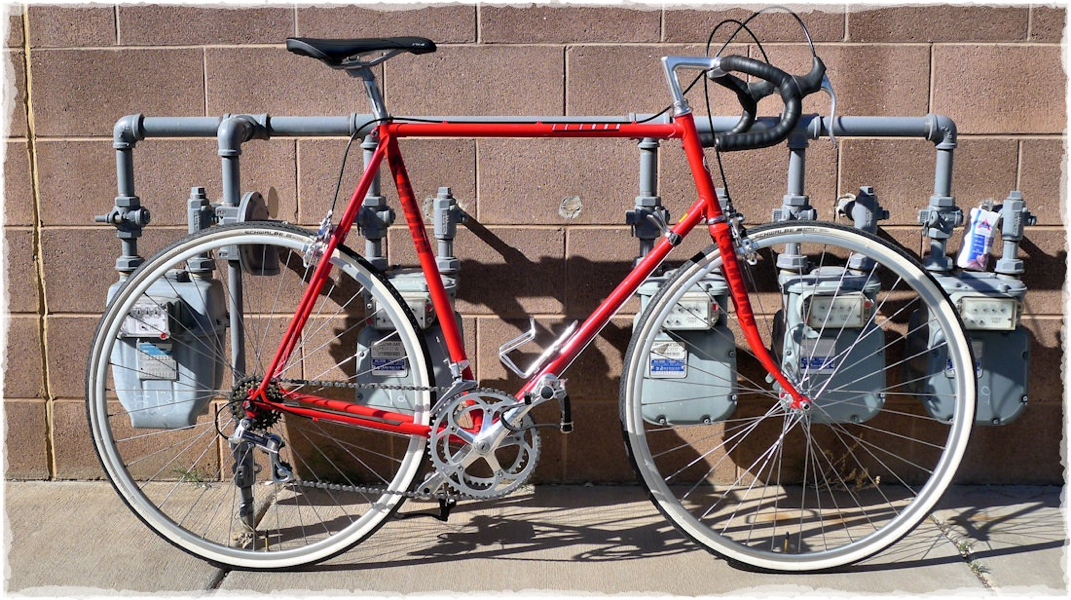
Back working on the birthday bike while we wait for the Balance's green touch up paint.
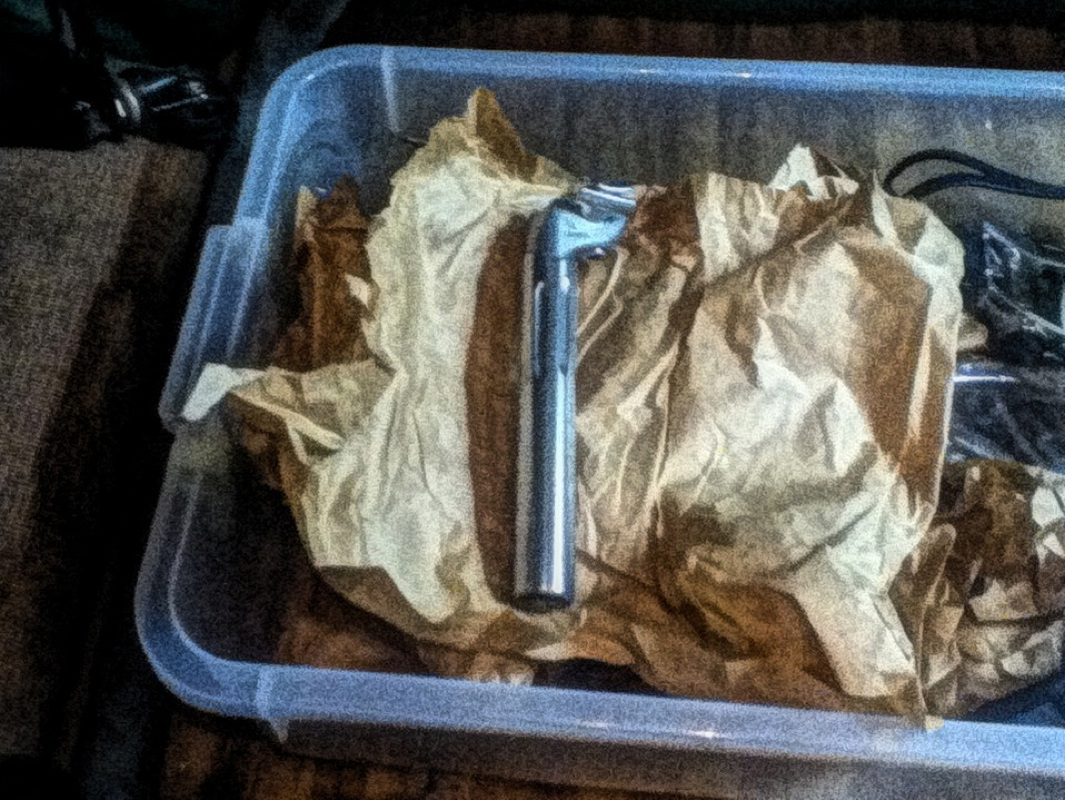
First the seatpost, lots of grease on the end and down the seat tube, then clamp it on the frame with the seatpost bolt and put the frame on the bike stand... 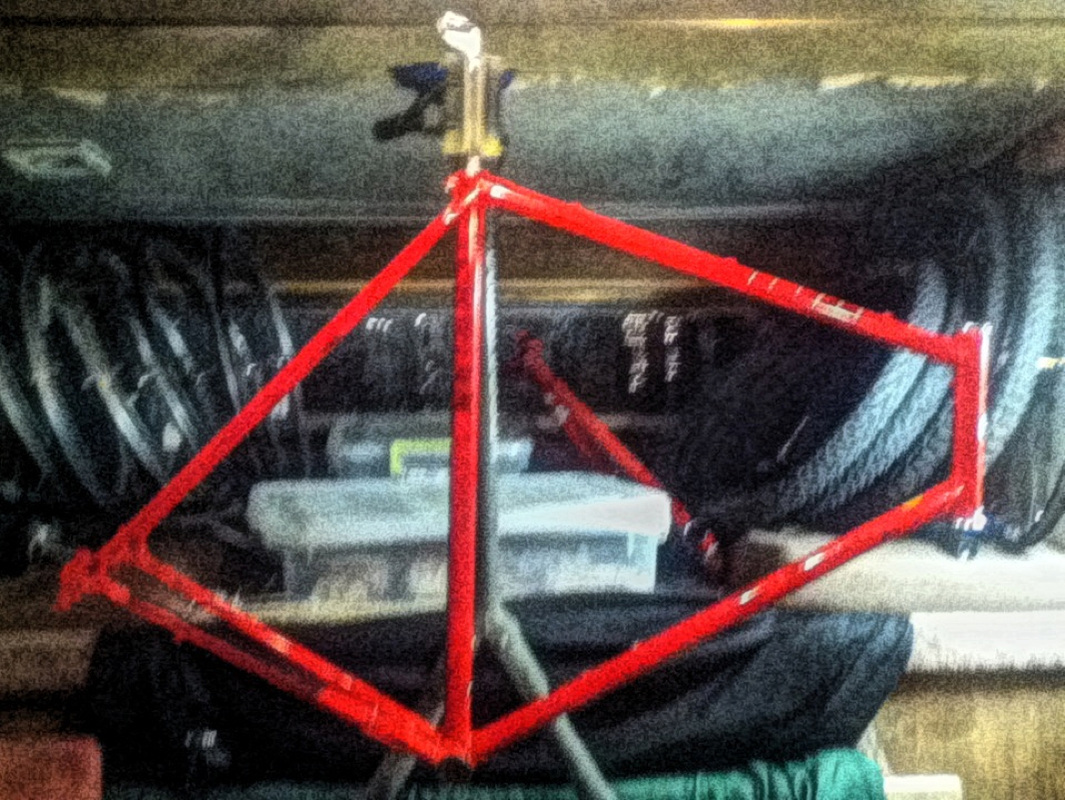
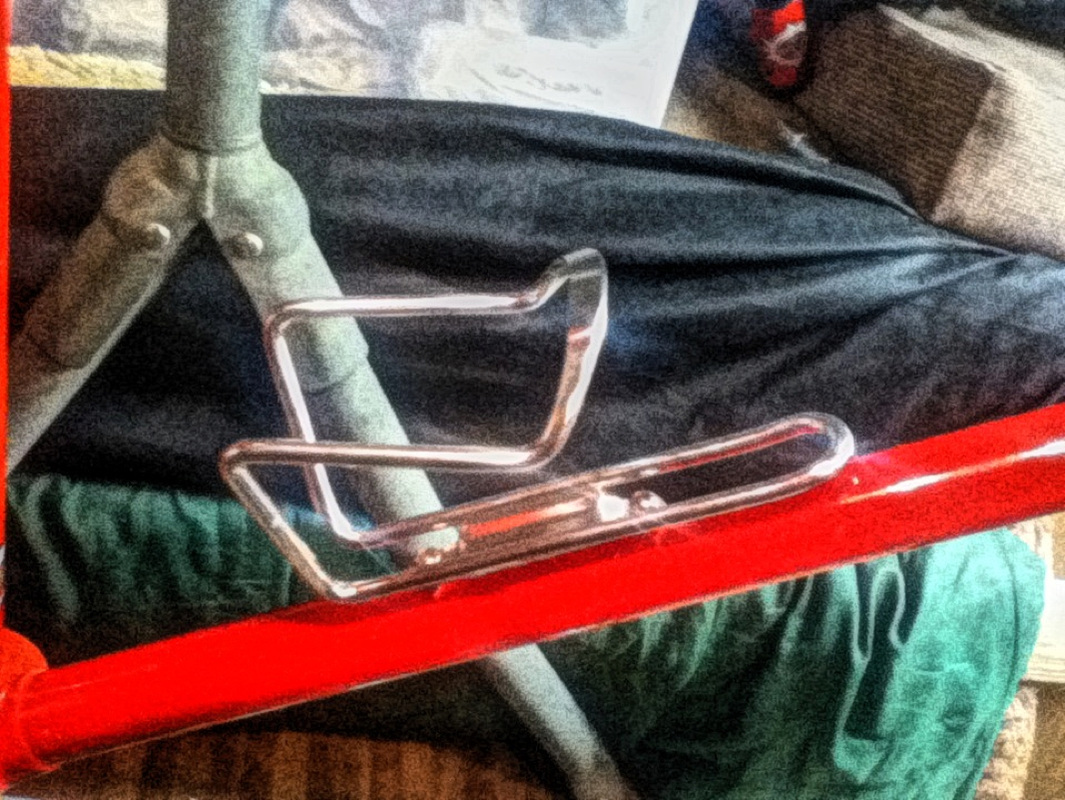
Then bolt on the bottle holder. I usually leave this for last but I was feeling rebellious.
Now putting together the bottom bracket inside the frame's bottom bracket shell. This is a Sugino Pre-Lube type bottom bracket that I've not seen before. The ball bearings are held in place by metal and plastic retainer system.
I have to put the bottom bracket together twice, because the first time I found that Casey the parts cleaner had not cleaned the left side bearing cluster so when I turned the axle it made this sound like fingernails dragging down a blackboard as the noise of scraping sand left in the bearings was amplified by the true temper steel bike frame. The second time the axle turned smoothly and silently, however. 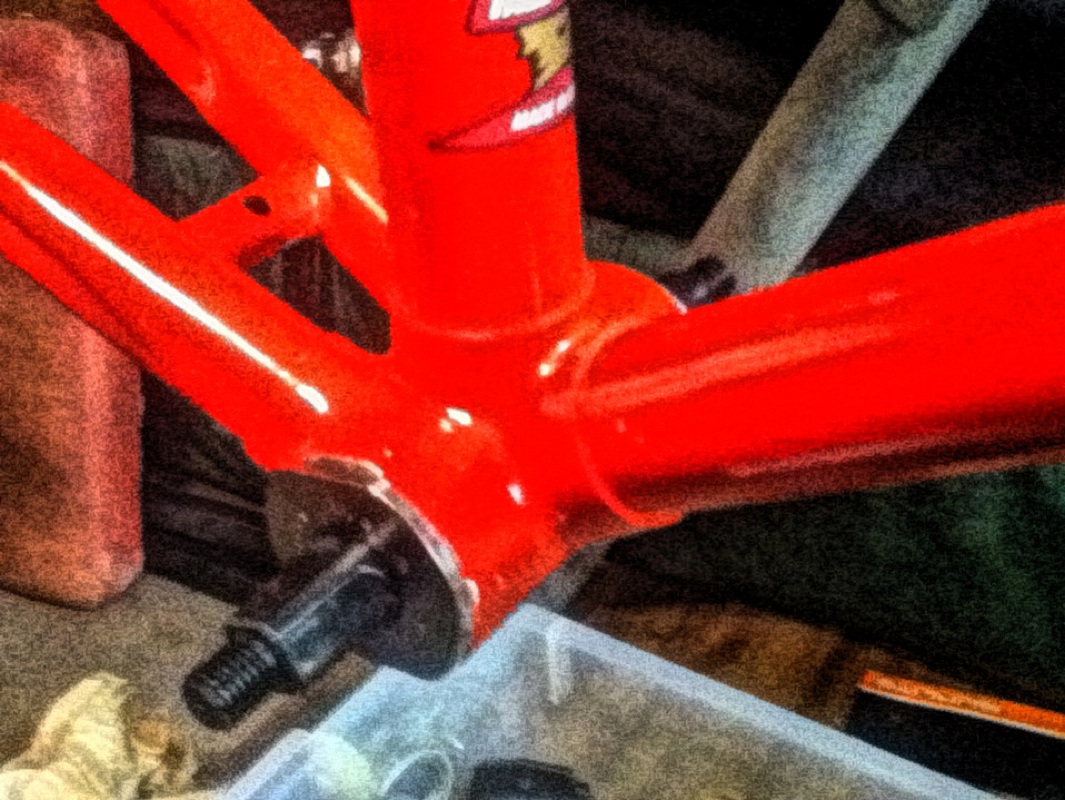
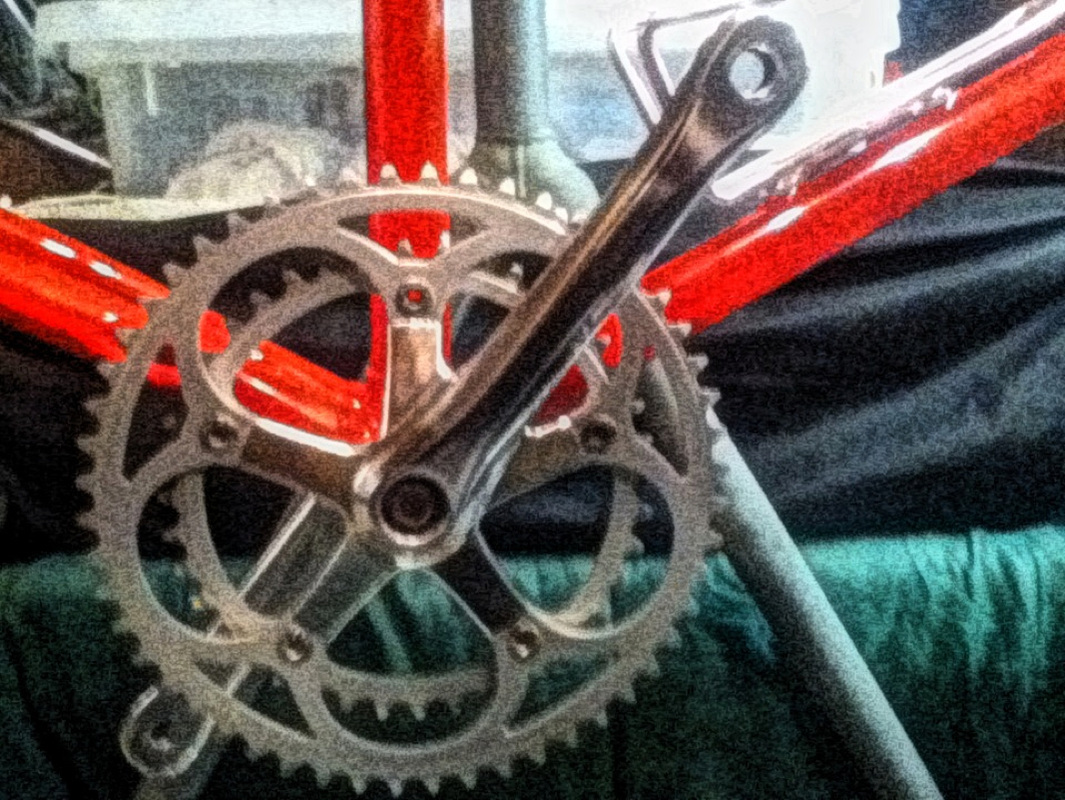
Finally, I put the very nice Sugino VX crankset on and torqued the nuts down to Shimano specs since I haven't yet found Sugino specs online.
Tonight I'll resume building with the derailleurs, hopefully...
|
 RSS Feed
